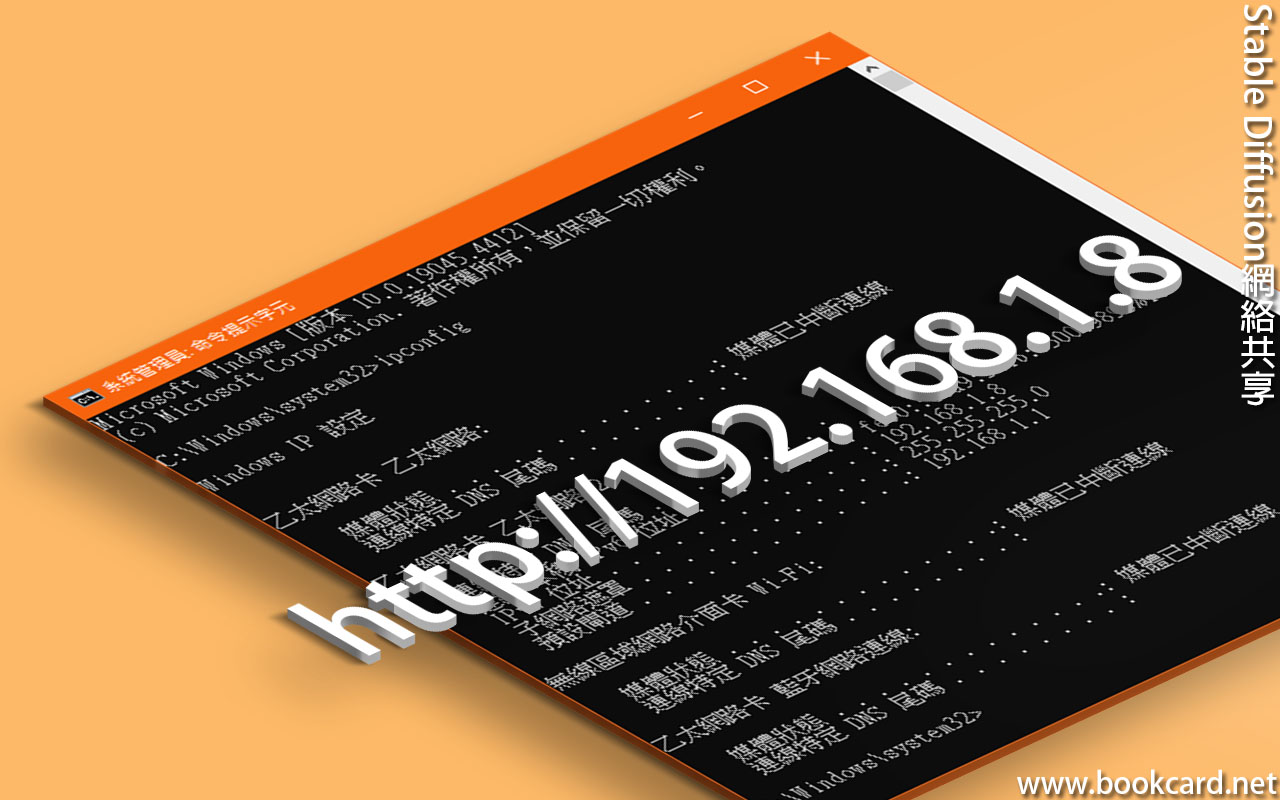

砌WIFI軟路郵,買WIFI冇線網卡做AP熱點,『Intel-AX210/EB200』閹左祇發射2.4G信號. 改買『MediaTek-MT7925』發射5G信號.
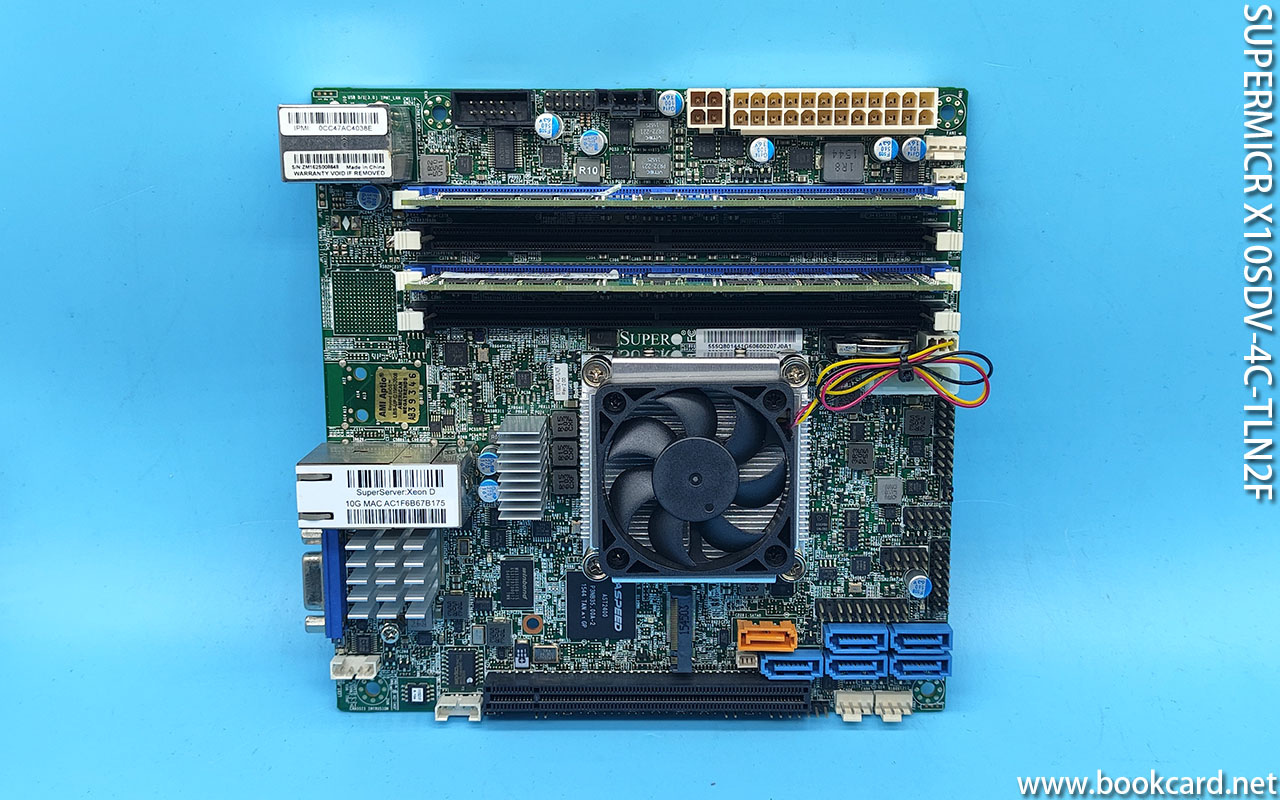
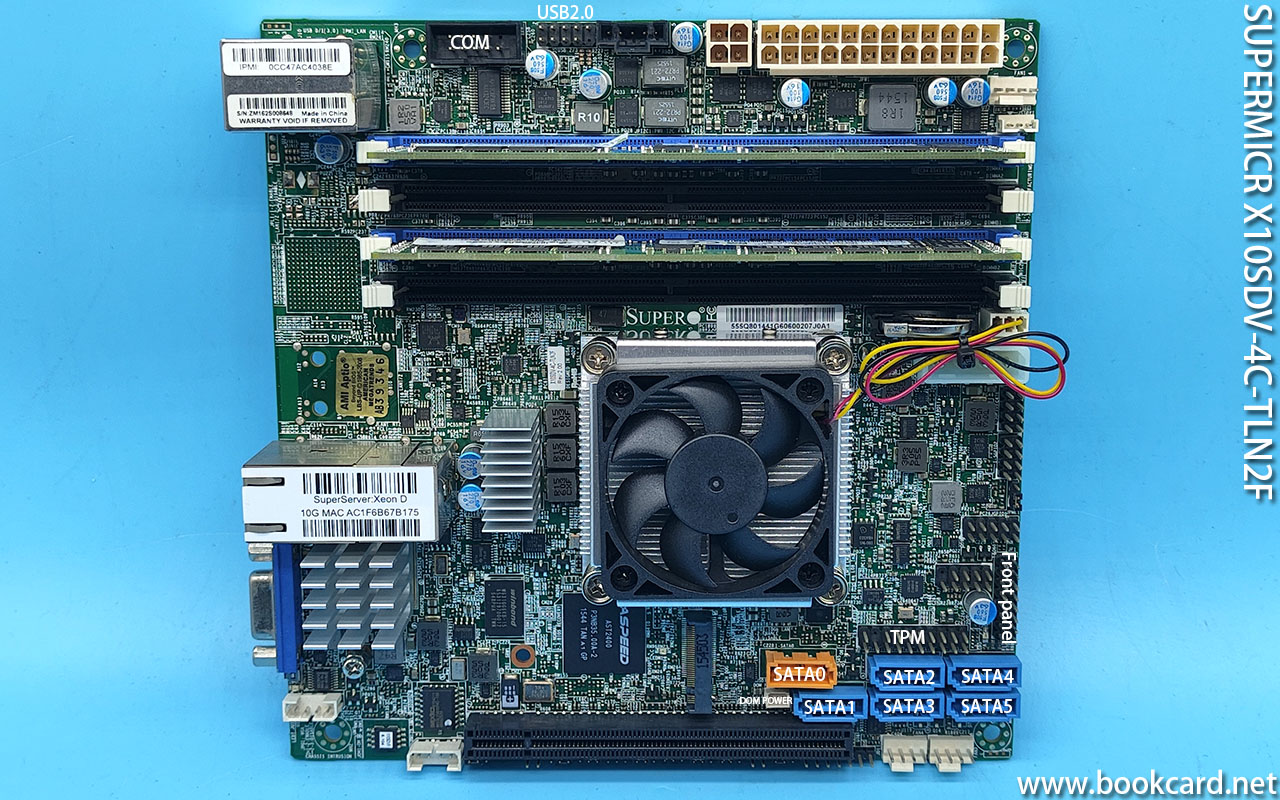
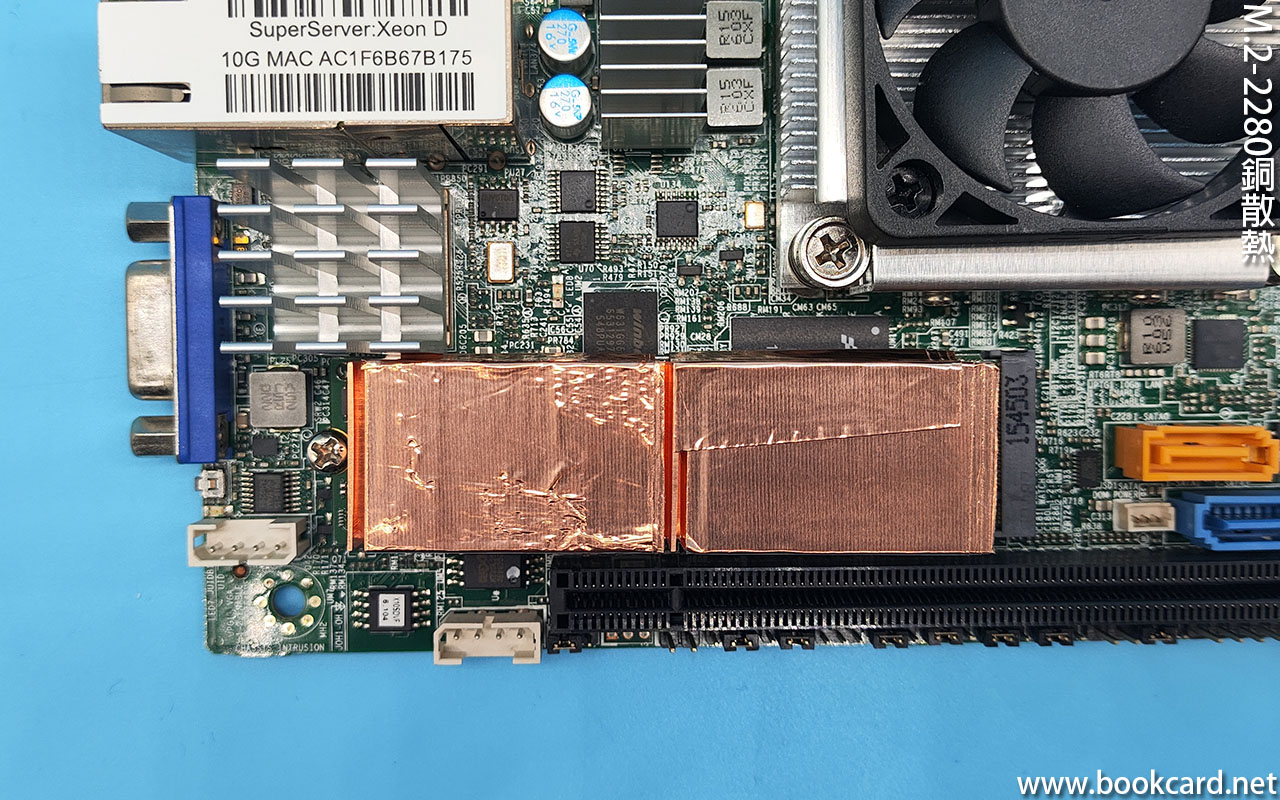
『MT7925』係『M.2-KEY E』接口,插係MVME槽要買『MVME TO M.2 WIFI』轉接卡,因『SUPERMICR X10SDV-4C-TLN2F』得壹條PCIE槽, 留番畀5G模塊.
壹定要下載穩定版『OpenWrt 24.10.1』,就係下載『OpenWrt 24.10.0』搞到WIFI信號時有時冇,.
係『OpenWrt』搜索『MT7925』驅動.
| opkg list | grep mt792 |
安裝『MT7925』驅動.
| opkg install kmod-mt7925-common |
| opkg install kmod-mt7925-firmware |
| opkg install kmod-mt7925e |
| opkg install kmod-mt7925u |
| opkg install kmod-mt792x-common |
| opkg install kmod-mt792x-usb |
| opkg install mt7925bt-firmware |
wifi密碼加密
| opkg install wpa-supplicant | 用戶端模式 |
| opkg install hostapd | AP模式或AD-HOC模式 |
『vim /etc/config/wireless』冇線網絡配置文檔
| wifi-device | 驅動設備名 |
| radio0 | WIFI冇線網卡驅動1 |
| radio1 | WIFI冇線網卡驅動2 |
設備類型
| type | 設備類型 |
| mac80211 | 驅動類型固定為mac80211 |
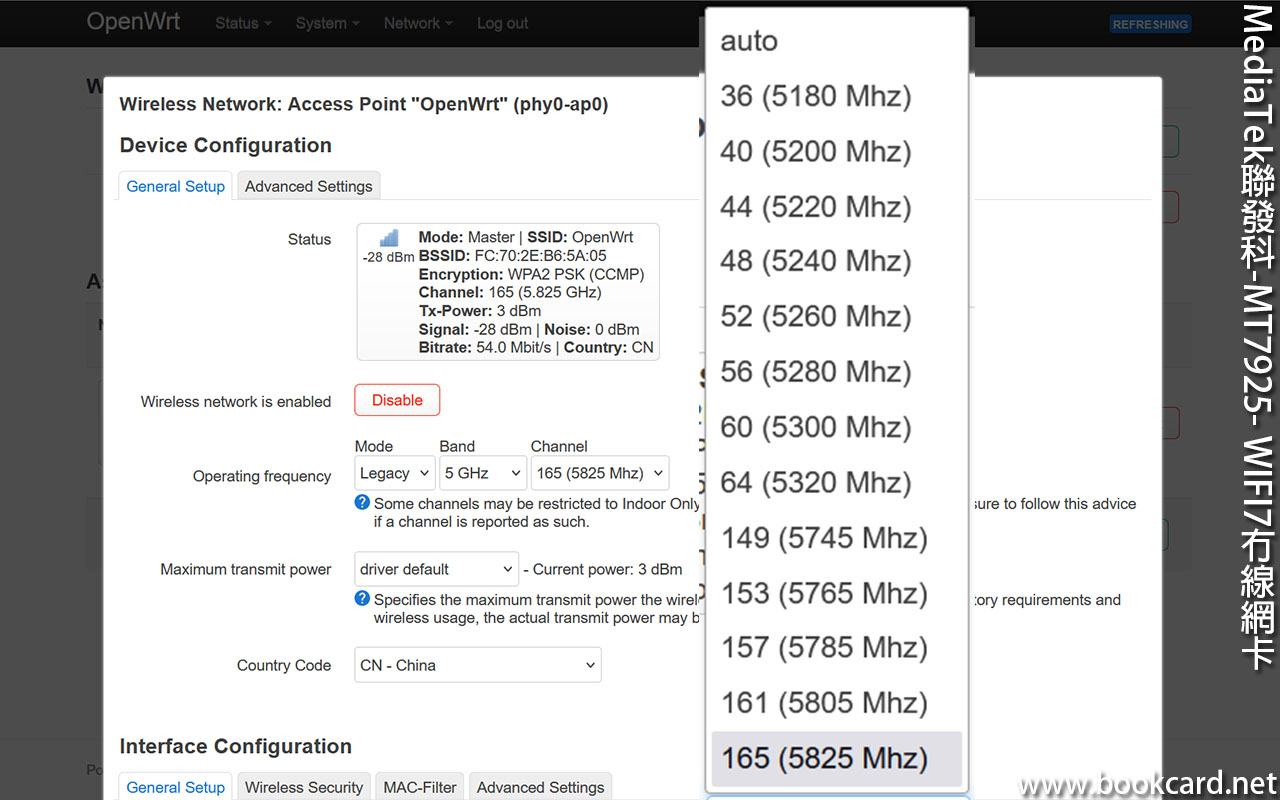
冇線信道
| channel | 冇線信道 |
| 1~13之間 | 2.4G默認信道1 |
| 36,40,44,48,52,56,60,64,149,153,157,161,165 | 中國產手機限制5G信道,得幾條揀, 吾係手機穩吾到5G-WIFI |
| auto | 自動揀最優信道 |
冇線頻寬htmode
| htmode | 冇線頻寬 |
| HT20 | 20MHz頻寬,支持1-13信道 |
| HT40 | 40MHz頻寬,支持1-7信道 |
| VHT20 | 20MHz頻寬 |
| VHT40 | 40MHz頻寬 |
| VHT80 | 80MHz頻寬 |
冇線协議 hwmode
| hwmode | 冇線协議 |
| 11b/11g/11n | 2.4G |
| 11n/11a/11ac | 5G |
帶寬共存
| ht_coex | |
| 1 | 帶寬20MHZ/40MHZ共存 |
| 0 |
2.4G模式『冇線协議 hwmode』『冇線頻寬htmode』『ht_coex』對應關係
冇線網卡驅動路徑
| path | 冇線網卡驅動路徑 |
| 自動生成 |
閂冇線設备
| disabled | 閂冇線設备 |
| 0 | 禁制wifi |
| 1 | 使能wifi |
地區
| country | |
| US | 美國 |
| GB | 英國 |
| JP | 日本 |
| KR | 韩國 |
| HK | 香港 |
| US | 冇線信道1~12 |
| CN | 冇線信道1~13 |
冇線發射功率
| txpower | 冇線發射功率 |
| 0~20 | 單位dBm |
掃描信道
| noscan | 吾扫描信道 |
| 0 | 扫描信道 |
| 1 | 禁止掃描信道 |
節點名
| wifi-iface | wifi-iface節點名 |
驅動名
| device | wifi-device驅動名 |
| radio0 | 默認2.4G |
| radio1 | 默認5G |
冇線網卡名
| ifname | 冇線網卡名/ifconfig顯示名 |
| wlan0 | Wifi1 |
| wlan1 | Wifi2 |
網絡設備類型
| network | 網絡設備類型,對應網橋 |
| lan | 橋接內網 |
| wwan | 冇線中繼 |
冇線工作模式
| mode | 冇線工作模式 |
| ap | 訪問點模式 |
| sta | 容戶端模式 |
| minotor | 監聽模式 |
WIFI名
| ssid | WIFI名 |
| Openwrt-5G | 最長32字符 |
WIFI密碼加密模式
| encryption | WIFI密碼加密模式 |
| none | 明文 |
| psk | WPA-PSK密文 |
| psk2 | WPA-PSK2密文 |
| psk-mixed | WPA-PSK/ WPA-PSK2混合 |
| psk2+ccmp |
WIFI密碼
| key | 密碼 |
| 12345678 | psk2加密模式:8~64個字符 |
| none加密模式時:密碼冇效 |
隱藏熱點
| hidden | 隱藏熱點 |
| 1 | 隐藏 |
| 0 | 可畀搜索 |
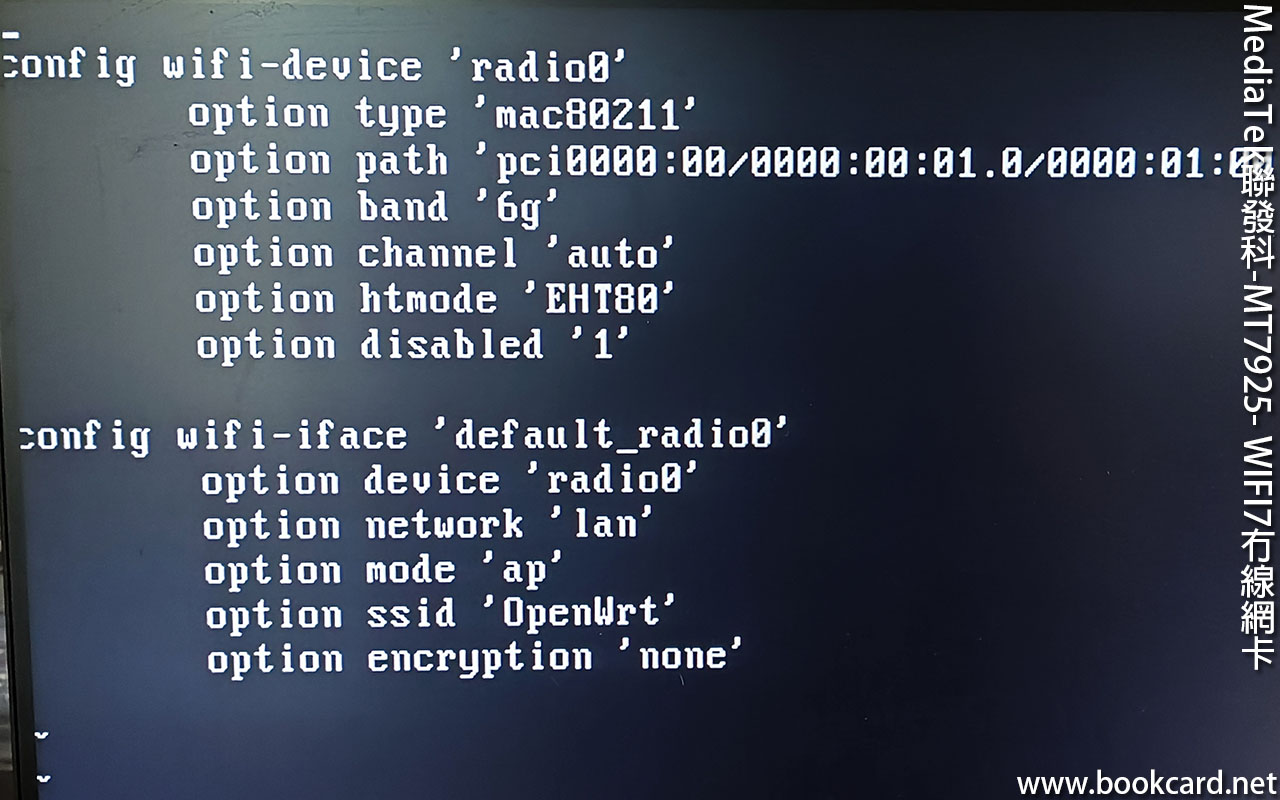
執行『vim /etc/config/wireless』修改WIFI-mt7925冇線網絡配置文檔.
WIFI-mt7925冇線網卡驅動
| config wifi-device ‘radio0’ | WIFI-2.4g冇線網卡驅動,編號0 |
| option type ‘mac80211’ | 驅動類型固定為mac80211 |
| option path ‘pci0000:00/0000:00:01.0/0000:01:00.0’ | mt7925冇線網卡驅動路徑 |
| option band ‘6g’ | |
| option channel ‘auto’ | 冇線信道 |
| option htmode ‘HT80’ | 40MHZ |
| option txpower ’20’ | 冇線發射功率 |
| option country ‘CN’ | 地區 |
| option disabled ‘0’ | 1:禁制wifi
0:使能wifi |
WIFI冇線網卡接口信息.『lan』設備用網橋『br-lan』. 吾用網橋『br-lan』手機連wifi會一直處於『正在獲取IP位址』.
| config wifi-iface ‘default_radion0’ | WIFI冇線網卡接口信息 |
| option device ‘radio0’ | 冇線網卡驅動 |
| option network ‘lan’ | 內網 |
| option mode ‘ap’ | ap |
| option ssid ‘OpenWrt’ | wifi名 |
| option encryption ‘psk2’ | 加密方式 |
| option key ‘12345678’ | 密碼 |
重啟網絡
| service network restart |
冇線wifi配置生效
| wifi |
列出所有無線網絡信息
| iwinfo |
軟路郵與主路郵網線相連, 係手機連『OpenWrt』密碼『12345678』.